Hiking in winter? Here's how to stay safe
Hiking in the off-season can often come with great benefits — quieter trails and atmospheric, seasonal landscapes, in particular — however, it can also mean treacherous conditions. Here’s how to stay safe while hiking during the wintertime.

Winter is when we really prove our love of hiking. As a season, it demands proper commitment — with more gear, more preparation, more exertion and more risk. And in return, it gives us a deeper, richer and grittier sense of the great outdoors.
With sufficient knowledge and preparation, harsh winter conditions shouldn’t deter you from hitting the trails. However, this comes with a caveat — if your aim is to hike in an upland area and there’s even a small chance of snow and/or ice — get some training first, from a qualified mountain guide or an outdoor activity centre. ‘Snow turns hills into mountains’ is a favourite saying among the British hiking community because snow transforms the terrain, adds new dangers and requires a whole new set of skills and equipment. If you intend to hike in these conditions, you’ll need a lot more than basic safety tips to prepare yourself for the challenges they present.
1. Know how to navigate
“Your phone is not a compass. For walking in a straight line, it’s a complete nightmare,” says Dave Evans, head of climbing and mountaineering at Plas Y Brenin — a national outdoor centre in mountainous North Wales. “And it’s no substitute for being able to read contours in a landscape and make decisions about where to go based on that,” he adds. Phone apps rely on a GPS signal and, unless you’ve downloaded offline maps, also need an internet connection — both of which can be spotty at best.
In lieu of your phone, Evans advises that hikers equip themselves with a hard copy of an area’s map (carried in a clear plastic, waterproof wallet), as well as the Silva Expedition 4 compass. According to Evans, “no other compass really does the job”. You never know when you might find yourself having to plot a course in thick hill fog in an area with no phone signal or low battery, making backup navigation an essential. Just make sure you know how to use a compass and read a map.
2. Temper your ambition
In winter, the days are shorter, rucksacks are heavier and the conditions underfoot can be exhausting. It's wise to plan your routes accordingly by choosing trails less challenging or areas less prone to sudden weather changes. And if Mother Nature throws you a last-minute curveball —adapt. As Dave Evans puts it: “If you’re not sure that what you’re doing is sensible, do something else that you think is more sensible instead.”
3. Watch the weather
Reputable national forecast providers are the ones to consult, provided that their service allows a close-up view of conditions in your chosen destination. Forecasts will start to give a broadly accurate picture of what’s coming about five days in advance. Keep in mind that the details can change and in upland areas those details can mean the difference between sunshine, rain or snow. Continue checking the weather forecasts, not only before your hike but also once you’re en route. Pay attention not just to precipitation, cloud coverage and at what altitude the temperature will dip below freezing, but to wind strength, too, as strong winds make mountains dangerous.
(These are the best autumn hikes in Europe.)
4. Know who to call in an emergency
Save the local rescue and emergency service numbers on everyone’s phones before hiking. You may not have internet connection to look up who to call while you’re out, so it’s better to hope for the best but prepare for the worst. Plus, in the event of you needing assistance, research what information the rescue service will require before and once they reach you.
5. Tell a friend or family member where you’re going
Keep others informed about the route you’re taking and, for safety reasons, consider sharing your location with a trusted person. If you’re starting from a car, it’s also worth leaving a note about your route on the dashboard. Don’t forget to let your friends or family know you finished your hike once you’ve returned to your vehicle, station or accommodation.
6. Wear appropriate gear
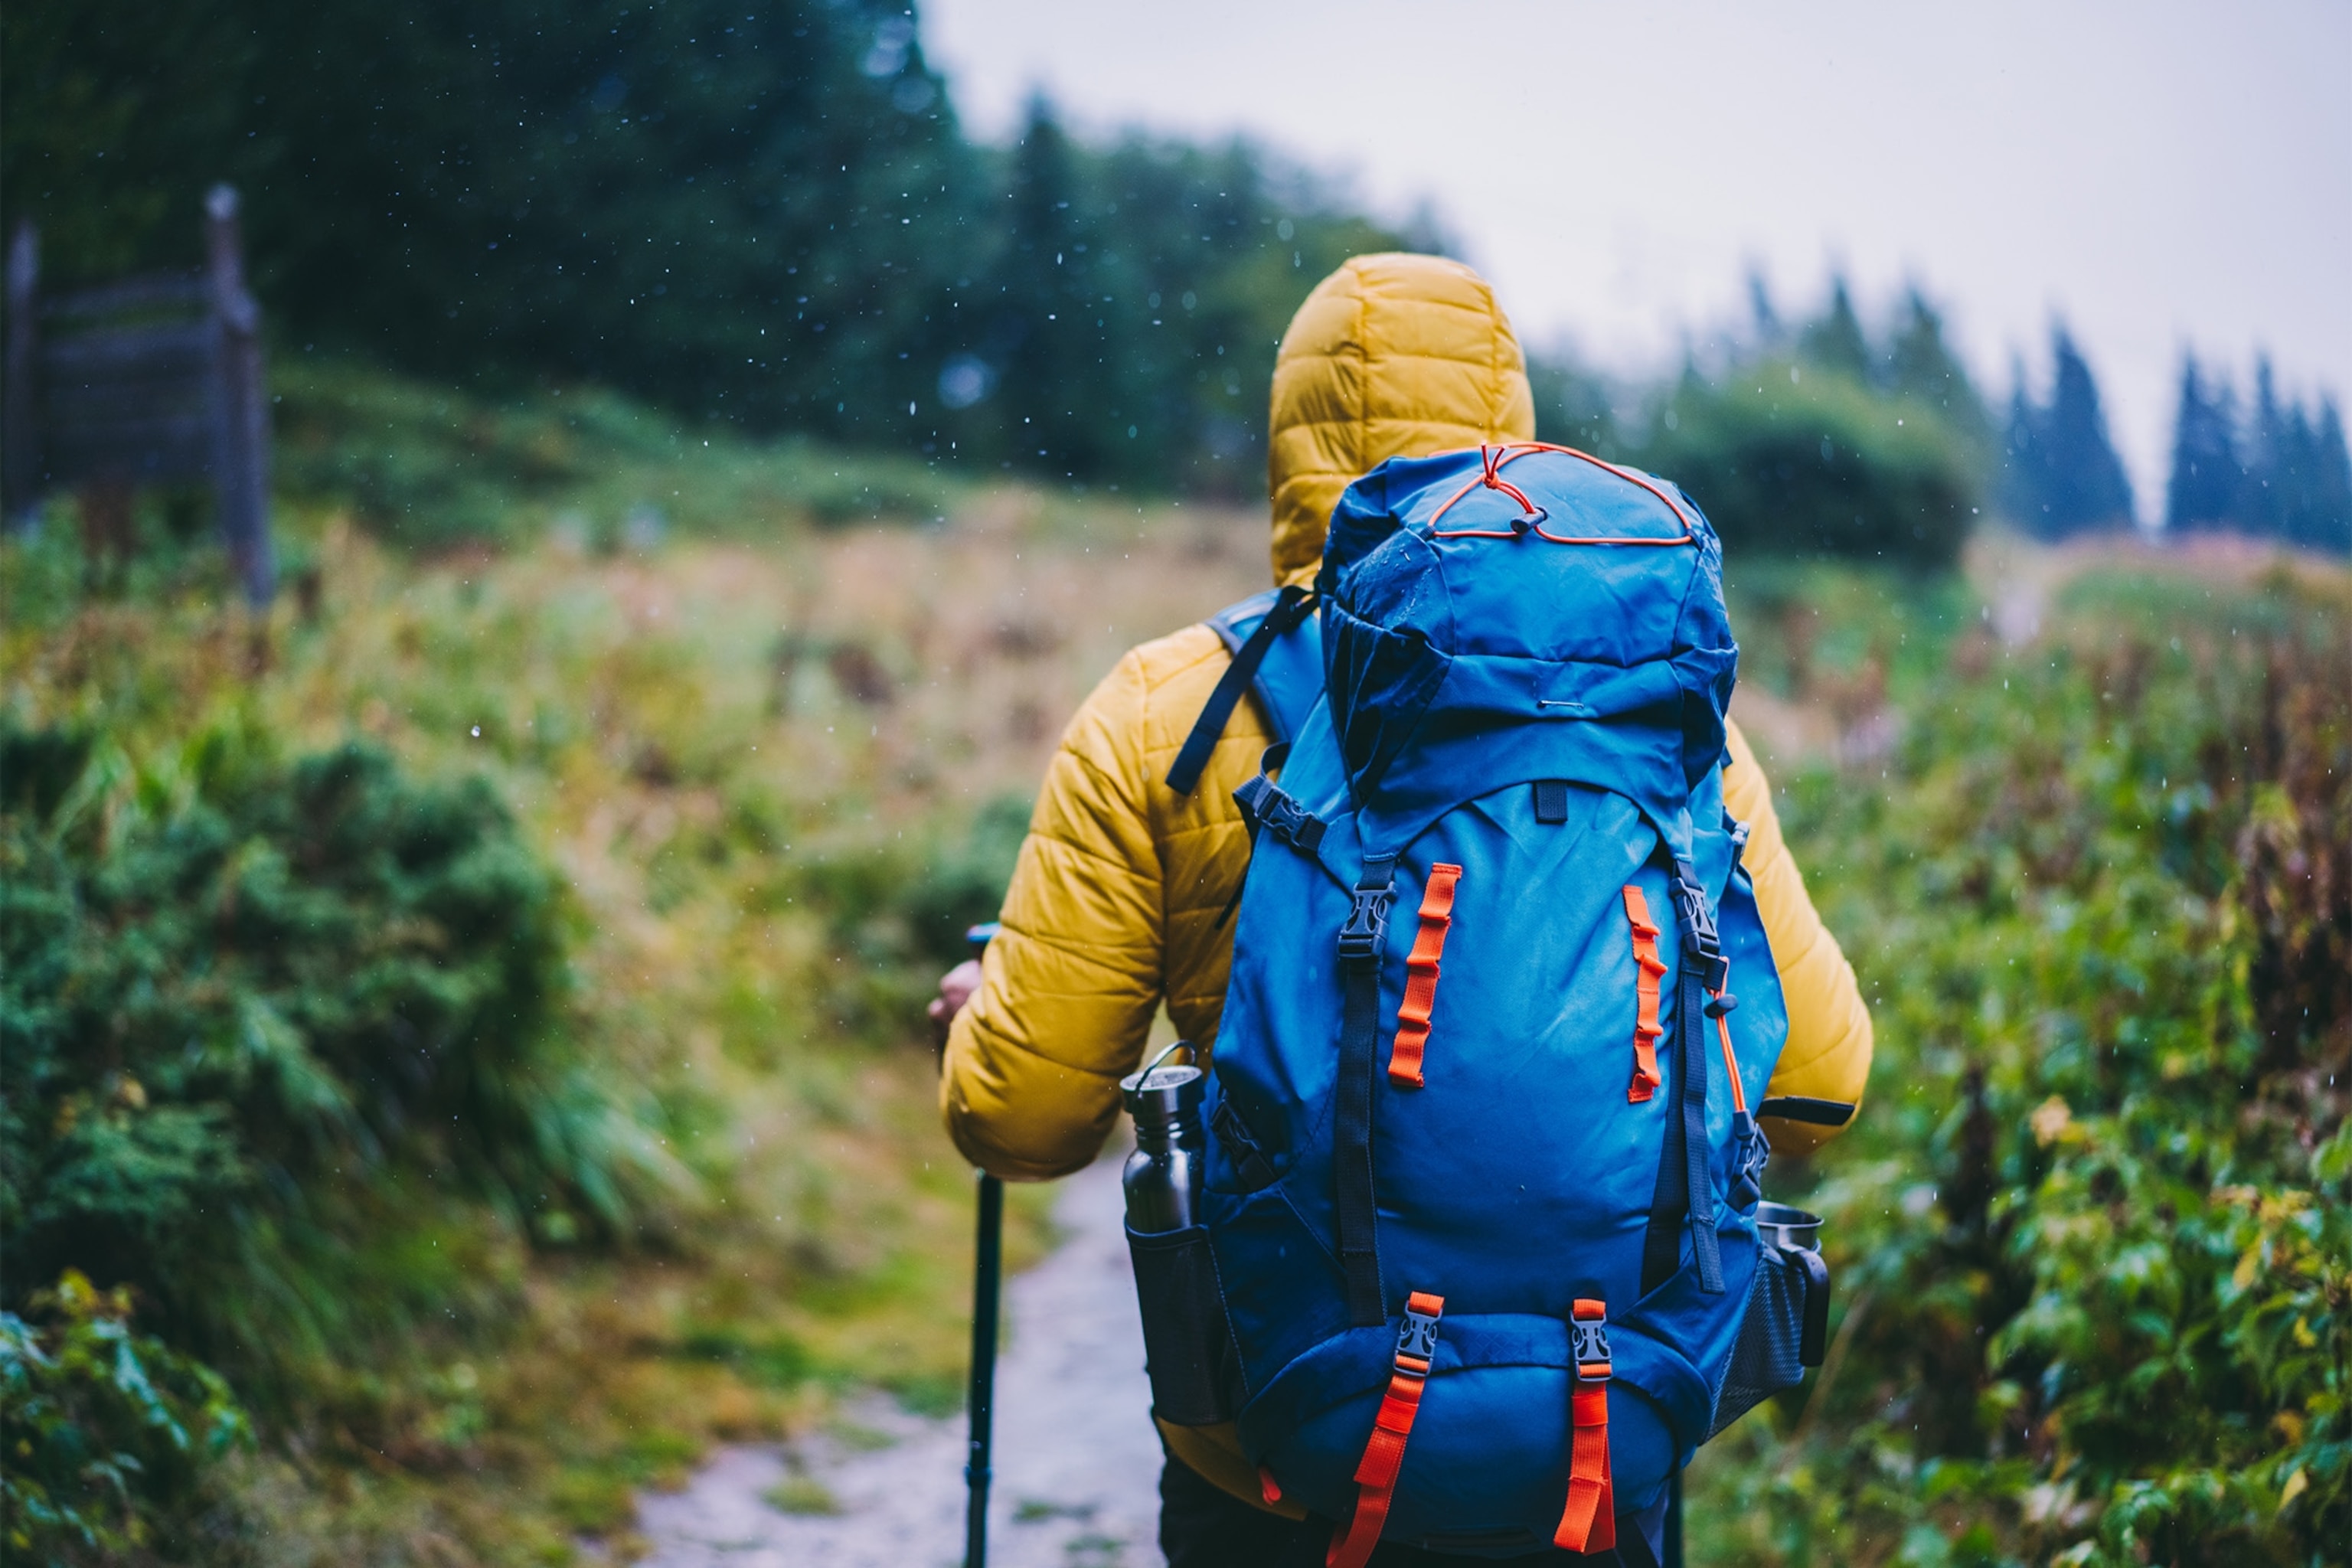
Don’t wear anything made of cotton as it sucks the heat out of your body when it’s wet. Start with a wool and/or synthetic fibre base layer, then add fleeces, insulated layers, thin woollen jumpers and windproof/waterproof shells on top. If there’s the slightest chance of rain, it’s best to avoid down-filled jackets as they’re not very effective at insulating when wet. You’ll also need to carry a rucksack big enough to hold your layers whenever you work up a sweat and need to peel some of them off.
If there’s rain in the air, you’ll need waterproof boots rather than walking shoes. The soles should offer plenty of grip on wet, slimy rock. To further boost stability if you’re likely to be crossing sodden ground, you can add telescopic walking poles and gaiters. If there’s a chance the rain might turn to snow, change your plans.
7. Pick the right companions
Ideally, winter hiking shouldn’t be a solitary undertaking, and picking a good hiking partner is an important task. While it may be hard to predict how someone will act in an emergency, try your best to choose level-headed, collaborative companions. You don’t want someone on the team who’ll add to the level of risk, whether it’s by insisting on a more exposed route or adding to their photo collection by standing one-legged on a boulder.
8. Pack the right accessories
A first-aid kit should be the first thing you pack. After that, everyone in the group needs a flask of their favourite warm drink, as well as a bivvy bag, a change of hiking socks and of course a woolly hat and gloves. Because of the short days, Plas Y Brenin's Dave Evans also recommends everyone carries a powerful head torch with spare batteries. He advises hikers to store the flashlight in a dry area where it won’t accidentally turn on.
One final thing: don’t forget a power bank for your phone, because nothing dents your battery power quite like cold weather. You’ll need it not just as a safety measure, but also because you’re likely to be taking lots of photographs.

